
There are 0 items in your cart |
on orders over £350 ex VAT

free downloadable warranty
Encrypted With SSL
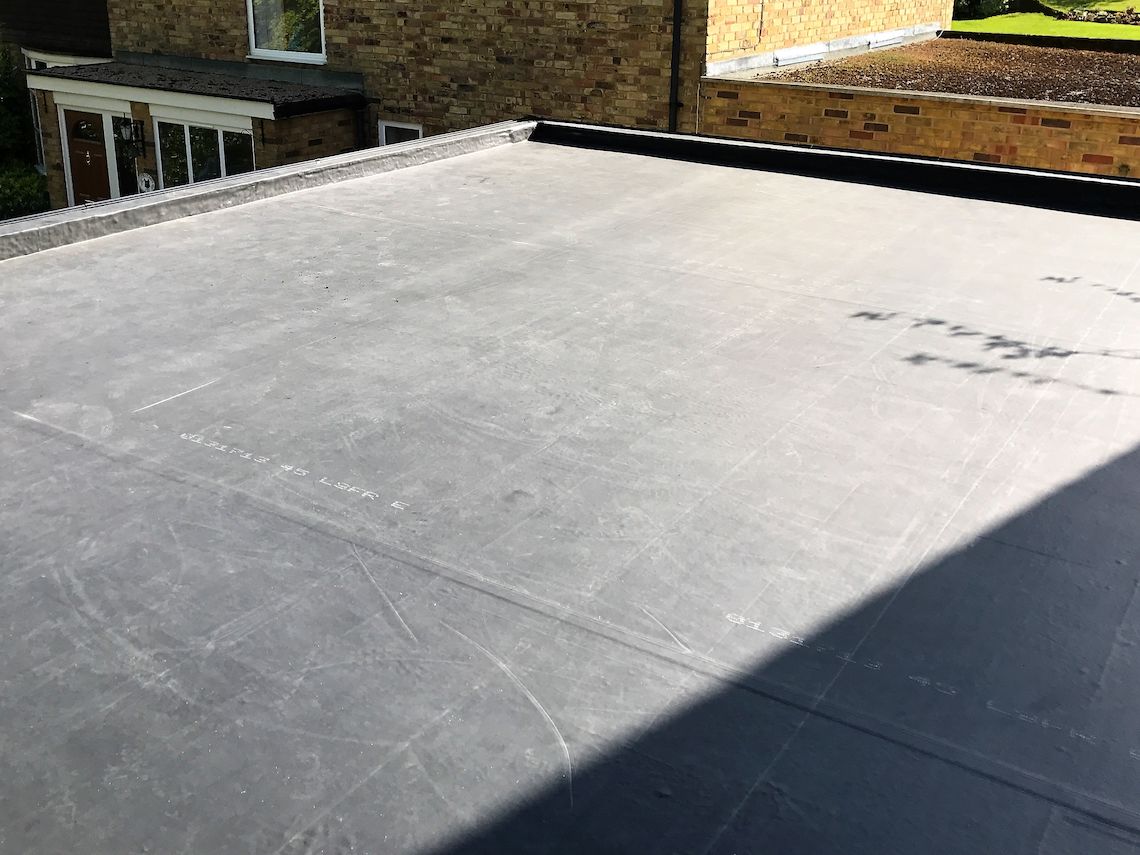
In this blog post, will be explaining exactly how to lay the membrane and how to create a seam join.
This may be an obvious one but can be regularly overlooked. You want to ensure your roof’s surface is clean and free of any debris, loose dust and any oily substances that could cause lumps, bumps and inconsistencies in the membrane. This can also result in the membrane lifting during tough weather conditions if it hasn’t been laid flat enough.
After having been sat in the same position for a while, the EPDM membrane will need some time to lay the right way. Allowing the membrane to relax and flatten out can take around 30 minutes, so you won't need to wait too long. Once it has settled, it will be ready to install. Here at Rubber Roofs, we cut your membrane to size, so you don’t have to worry about it being the incorrect size or shape for your roof. For a flat roofing quote, use our flat roof calculator today.
Fold back one half of the membrane and apply an even amount of water based adhesive to the deck, using a roller and sleeve.
As soon as you have coated the roof in the adhesive, you need to mate the EPDM to the adhesive immediately. You will need to have access to a soft broom in order to sweep out any bubbles, lumps and bumps. If you use a hard bristled broom, it may scratch and cause damage to the membrane.
Creating a seam join after splicing your EPDM can be created by following a few easy steps.
Once you have ensured that your membrane is straight, overlap the edges by 10cm. You then need to measure and create a line that is 2cm away from the join. You can mark this with a pencil or chalk, as you position your thumb between the chalk and the join to give you an accurate guide.
Once measured, you need to fold the rubber back and prime it on both sides. You need to make sure you go all the way up to the chalk or pencil line, using a quick scrubber pad and handle. Once completed, allow this to dry on both surfaces.
Starting at one end, once dry you can apply 3” quickseam tape to the lower primed area. Make sure the brown paper is in line with the chalk mark. Once the full length has been applied.
The next step is to overlap the rubber onto the brown release paper. You can then gently remove the release paper, ensuring it is taken off at a shallow angle to reduce the risk of any lumps appearing. Smooth with your hand as you go, until it is completely removed. Once complete, roller thoroughly.


Click on our friendly RoofBot to help you work out what you need for your DIY TRC - Techno Rubber project, just input your dimensions, answer some simple questions and let RoofBot do the rest. If you still need assistance, don't hesitate to contact us at info@rubba-seal.co.uk or 01494 461711.

© 2024 Avenir Roofing Ltd t/a Rubba-Seal • All rights reserved
Registered in England and Wales: 04710777 •
VAT registration number: 527 2382 48
Web design & development by