
There are 0 items in your cart |
on orders over £350 ex VAT

free downloadable warranty
Encrypted With SSL
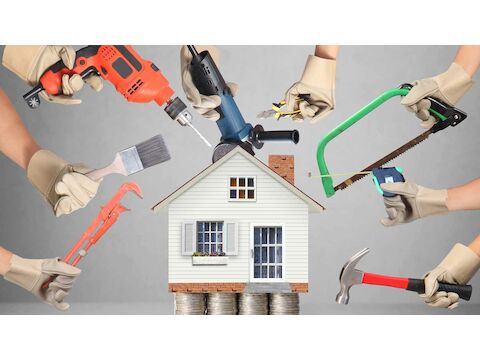
As a DIYer, the challenge of installing a DIY EPDM rubber roof can either be exciting, or daunting. With so many factors to consider during the installation, it can be difficult to picture how the final product will look, and if you’ll ultimately be happy with the result.
For those who don’t turn away from a challenge, we’ve put together our tips and tricks when installing a DIY EPDM rubber roof, including some do’s and don’ts, to help you achieve a professional finish that you’ll love for years to come.
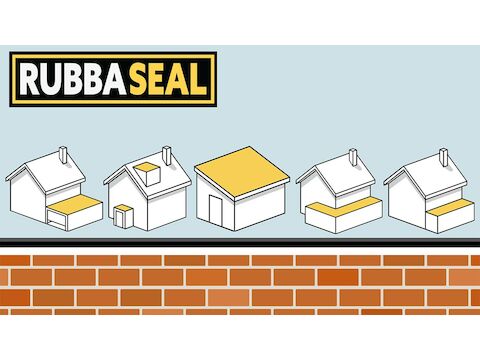
The first step in any DIY EPDM roofing installation is to measure the area in which the EPDM roof will be installed. To ensure you have ample roof coverage, we recommend adding at least 300mm to allow for overhangs, remembering to factor in any upstands that may be present.
Before fit-testing the membrane, make sure that the surface has been thoroughly cleaned, and that there is no loose debris which may get trapped underneath the membrane. Ensuring that the substrate is clean will reduce the need for future repairs, and will also reduce the possibility of both bubbles and bumps in the finished project.
One of the main benefits to any DIY project (discounting personal achievement) is the cost-benefits. However, when pricing up a project with the intent of a professional finish, we cannot stress the importance of buying high-quality EPDM membranes. We pride ourselves on our products, and that is why we recommend using our Techo EPDM membrane when striving for a professional-looking finish.
One of the most common pitfalls for first-time DIY EPDM roofing installation is either uneven or rushed application of the water-based adhesive used when installing an EPDM roof. By correctly applying adhesive, you can guarantee a solid bond between the substrate and the membrane which will last for years to come.
One of the most obvious signs of a rushed installation can be seen via the installation of trims and flashings. Precision is key when cutting and fixing trims, and care should be taken to ensure this is done correctly. It is important to allow a 5mm gap between trims for expansion and contraction.
The same care should be taken when applying detail kits to external corners; take the time to properly manipulate the detail kit before applying pressure, as the bond between the primed EPDM and the detail kit will make it difficult to amend the positioning once contact has been made.
As the preferred UK supplier of Techo EPDM, we put a lot of pride behind our products, and only supply those we believe match the qualities of our BROOF (T4) fire-rated EPDM. View our range of rubber roofing materials via our online shop. We also have an EPDM roofing calculator available to help you get started on your next DIY EPDM project.


Click on our friendly RoofBot to help you work out what you need for your DIY TRC - Techno Rubber project, just input your dimensions, answer some simple questions and let RoofBot do the rest. If you still need assistance, don't hesitate to contact us at info@rubba-seal.co.uk or 01494 461711.
© 2024 Avenir Roofing Ltd t/a Rubba-Seal • All rights reserved
Registered in England and Wales: 04710777 •
VAT registration number: 527 2382 48
Web design & development by