
There are 0 items in your cart |
on orders over £350 ex VAT

free downloadable warranty
Encrypted With SSL
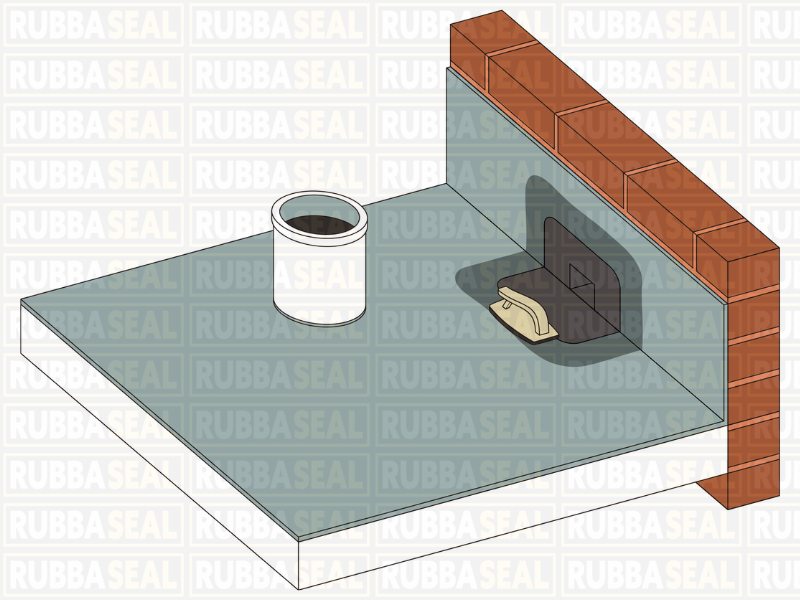
Step by step guide on installing a horizontal rainwater outlet to your next rubber roofing project.
Download PDF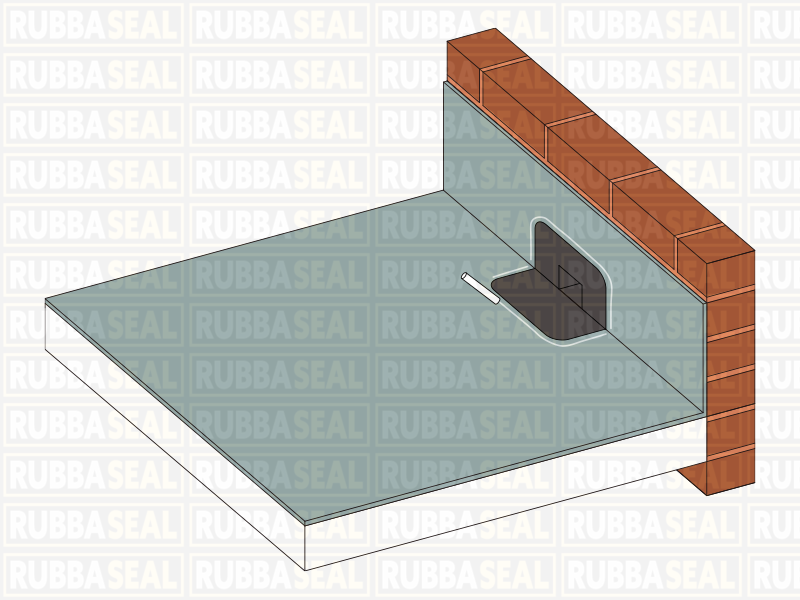
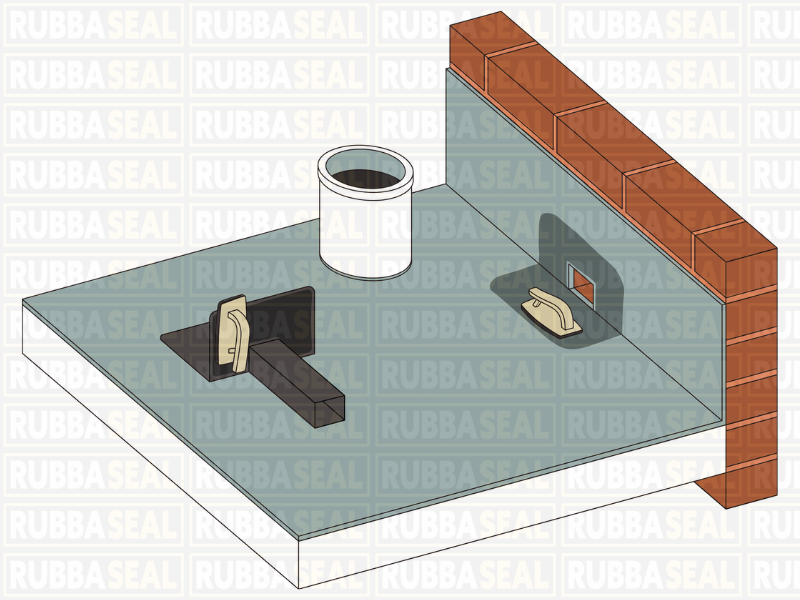
Place the outlet through the wall and mark around it using a crayon or similar, allowing an additional 1cm around the perimeter.
Stir thoroughly and prime the underside of the outlet and the marked area on the rubber using a scrubber pad and handle. Allow both surfaces to dry.
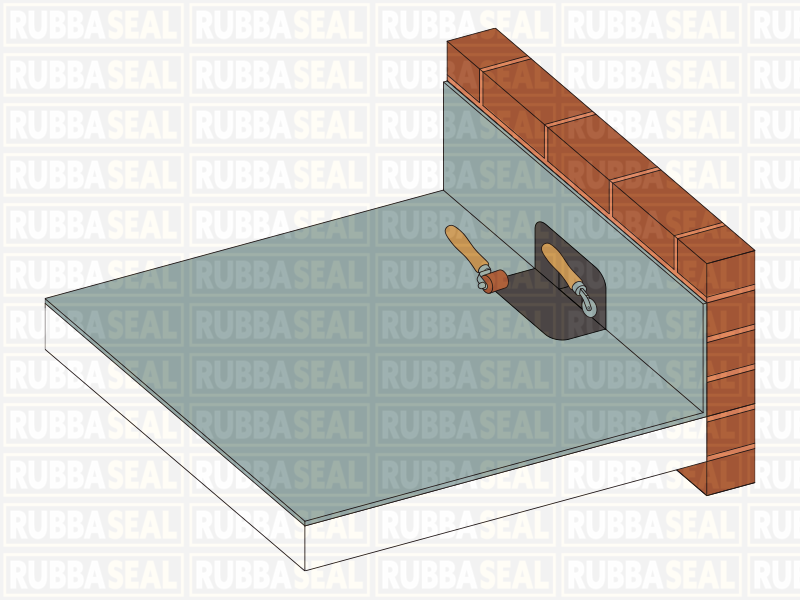
Mate the outlet to the rubber and seal in place using a penny and silicone roller.
Round the corners of the 18" flashing tape (Horizontal flashing kit) with scissors and neatly position over outlet. Mark the perimeter with crayon.
Prime the rubber and outlet using the scrubber pad and handle and extend primer beyond the crayon line by 2cm and into the mouth of the outlet by 100mm.

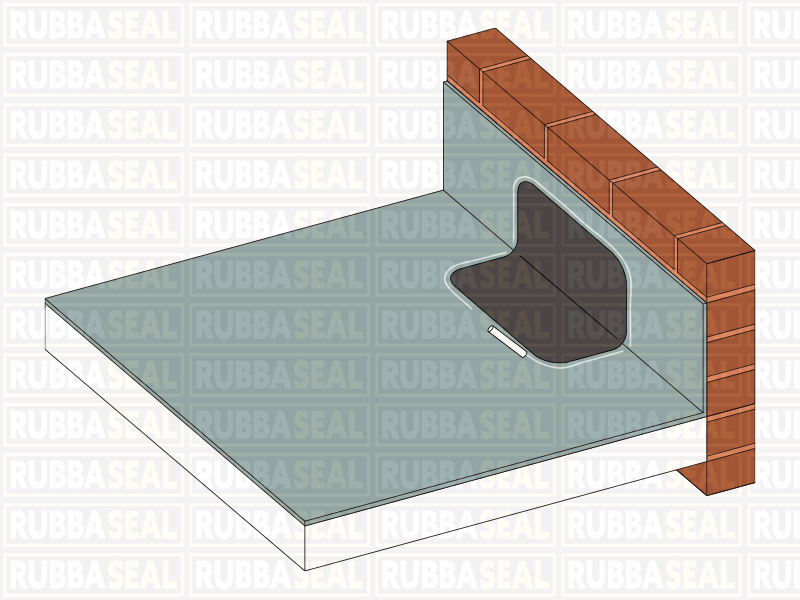
Once touch dry, working from the bottom, position the 18" flashing tape and carefully remove the backing paper. Ensure it is tightly sealed into the corners and use a penny and silicone roller. Carefully cut the sides and top at the aperture and allow flap to drop into the primed outlet.

Click on our friendly RoofBot to help you work out what you need for your DIY TRC - Techno Rubber project, just input your dimensions, answer some simple questions and let RoofBot do the rest. If you still need assistance, don't hesitate to contact us at info@rubba-seal.co.uk or 01494 461711.

© 2024 Avenir Roofing Ltd t/a Rubba-Seal • All rights reserved
Registered in England and Wales: 04710777 •
VAT registration number: 527 2382 48
Web design & development by